
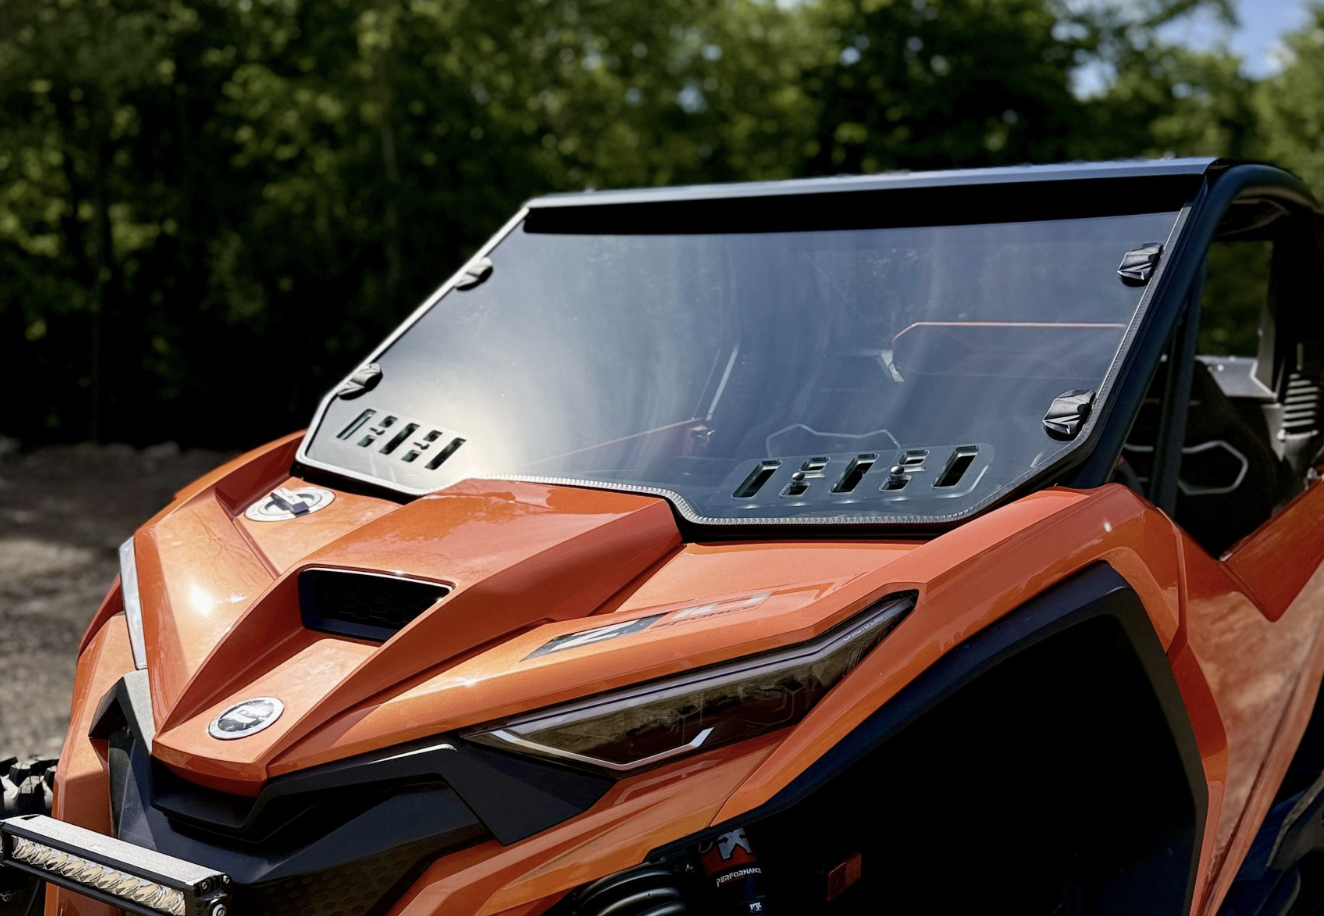
How to Install an ATV Windshield on Different Models
Installing an ATV or UTV windshield might seem daunting, but with the right product and a little know-how, it's a project you can easily tackle in your garage. This guide covers the basics of installation across various popular models.
The Basics of Windshield Installation
While specific steps vary slightly depending on whether you drive a Polaris, Can-Am, Honda, or Yamaha, the core principles of installing a windshield remain consistent. The goal is a secure, rattle-free fit that doesn't damage your roll cage.
Before you begin, always unpack your new windshield on a soft surface (like a blanket or the cardboard box it came in) to prevent accidental scratches. Most high-quality windshields ship with a protective film on both sides—leave this film on until the very end of the installation process!
Tools You Might Need
The beauty of modern windshield designs, particularly those from RAD Accessories, is that they often require zero tools. However, depending on the brand you purchase, you might need:
- A set of Allen wrenches (Hex keys)
- A socket set or adjustable wrench
- A soft microfiber towel
Model-Specific Considerations
Polaris Ranger & RZR
Polaris vehicles often feature unique roll cage profiles, sometimes referred to as "Pro-Fit" cages. These aren't standard round tubes, but rather extruded channels. When installing a windshield on a Polaris with a Pro-Fit cage, it's crucial that the clamps are specifically designed for that profile. Standard round tube clamps will not work and could damage the cage. Slide the windshield into place, ensuring the bottom gasket seats firmly against the hood to prevent dust and water intrusion, then secure the specialized clamps.
Can-Am Maverick & Defender
Can-Am models typically use robust, round-tube roll cages. Installation here is usually straightforward. The key with Can-Am models, especially the sportier Maverick line, is ensuring the windshield doesn't interfere with any aftermarket roofs or light bars you may have installed. Position the windshield, loosely attach all clamps, and check your clearances before tightening everything down.
Honda Pioneer & Talon
Honda's roll cages are known for their sturdy construction. When installing on a Pioneer or Talon, pay special attention to the hood contours. Many Honda models have aggressive hood styling that requires a precisely cut bottom gasket on the windshield. Press firmly down on the windshield while tightening the clamps to ensure a tight seal against the hood.
The RADLOK Advantage: Tool-Free Installation
If you've purchased a RAD Accessories windshield featuring our RADLOK system, your installation process is going to be incredibly fast. Check out our quick and easy install video below, and then read on for the step-by-step instructions:
Here's how it works across almost all models:
- Position the Windshield: Lift the windshield into place, resting the bottom edge (with the rubber gasket) on your machine's hood.
- Align the Clamps: Ensure the RADLOK clamps are open and aligned with your roll cage tubes.
- Snap and Lock: Simply wrap the strap around the roll cage tube, hook it into the latch, and press the cam-lock lever down. The over-center design creates massive clamping force without the need for tools.
- Final Adjustments: If the windshield needs tweaking, just pop the levers open, adjust, and lock them down again.
- Peel the Film: Once you're satisfied with the fit, peel off the protective film and hit the trail!
Troubleshooting Common Installation Issues
Issue: The windshield rattles when I drive.
Solution: The clamps aren't tight enough, or the bottom gasket isn't seated properly against the hood. Loosen the clamps, push down firmly on the windshield to compress the bottom gasket, and re-tighten.
Issue: There's a gap between the windshield and the hood.
Solution: Double-check that you ordered the correct windshield for your specific Year, Make, and Model. If the fitment is correct, you may need to adjust the position of the clamps to pull the windshield tighter against the vehicle.
Conclusion
Installing an ATV windshield shouldn't be a frustrating experience. By taking your time, understanding the specific needs of your machine's roll cage, and utilizing high-quality mounting hardware, you can achieve a professional-level installation in your own garage. A properly installed windshield will provide years of quiet, secure protection on the trail. Ready to upgrade? Check out our easy-to-install windshields at Keep It Rad.

